Steps to Configure BitBucket insights
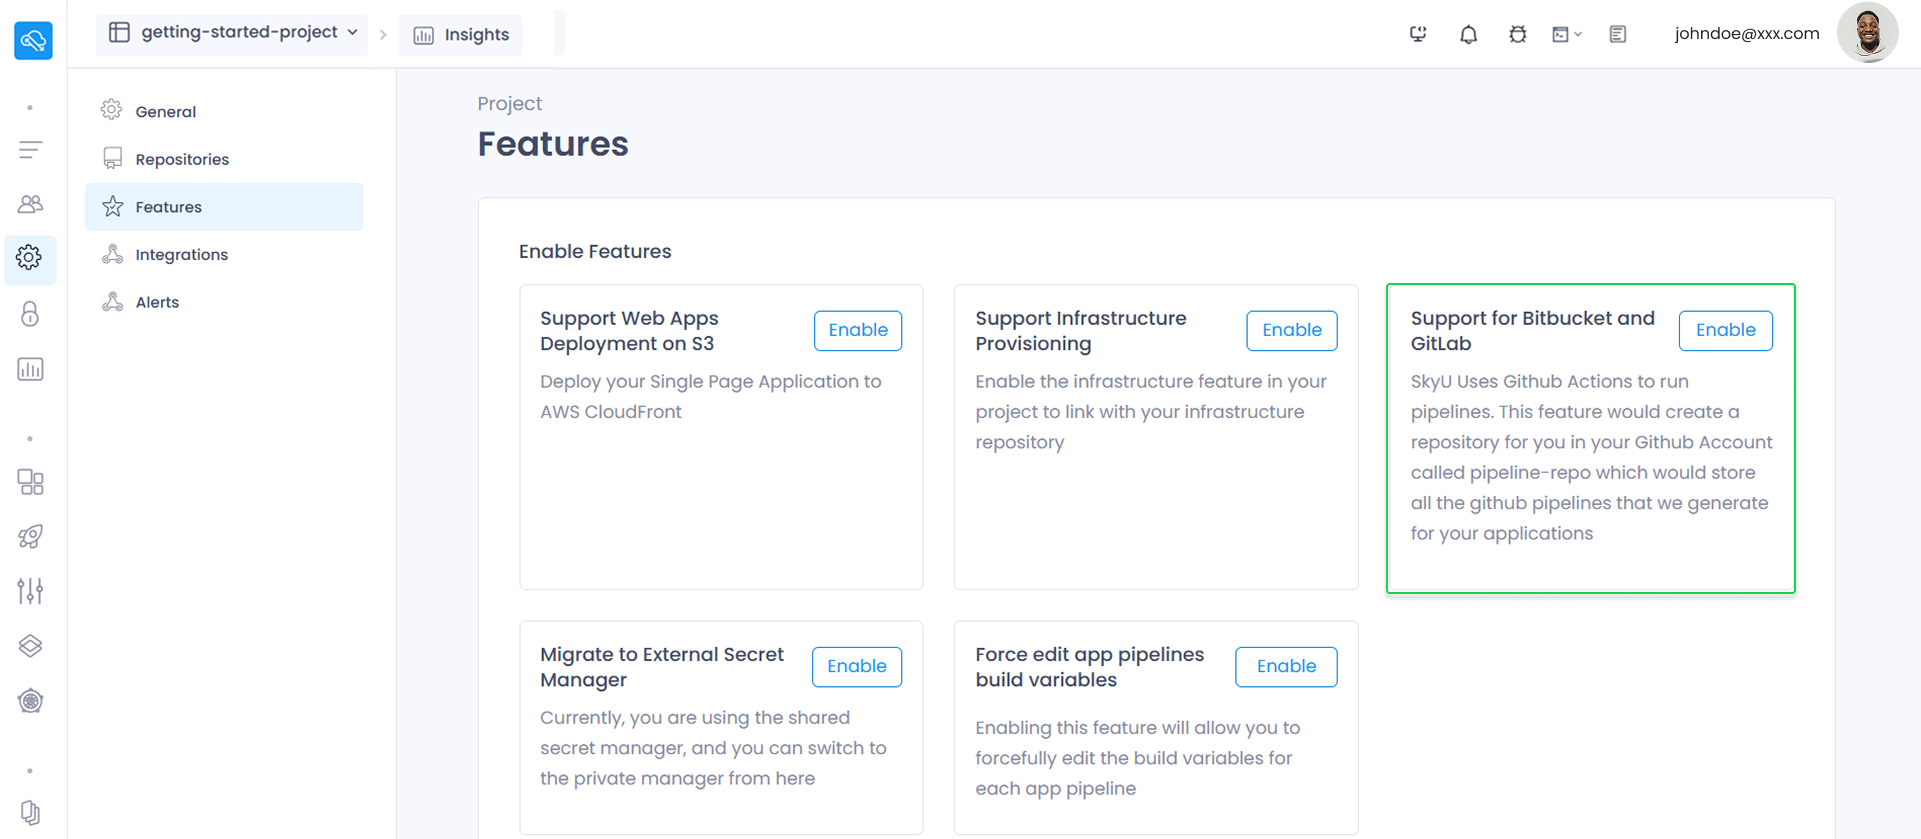
Before you begin, ensure the BitBucket Integration feature is enabled for your project. Go to “Settings” in the left sidebar and under “Features”, enable the “Support for BitBucket and GitLab” feature.
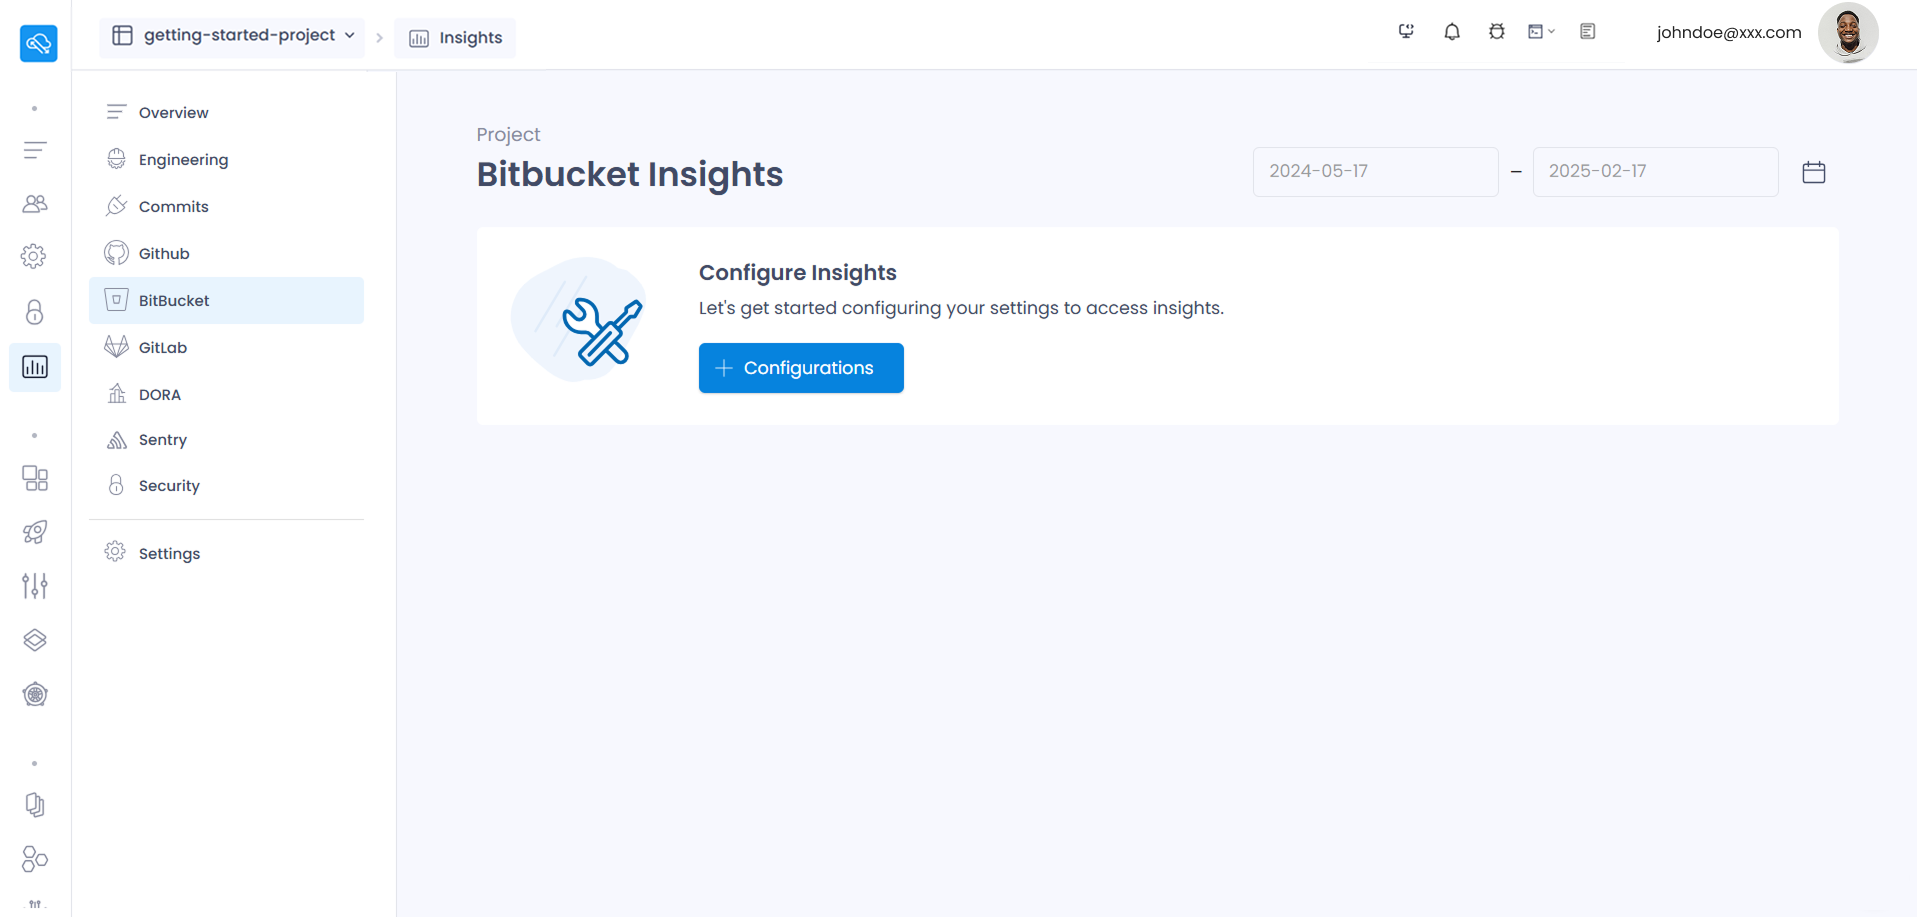
1. Select the provider your app is configured with.
- Navigate to the Insights tab in the left sidebar of the SkyU Console.
- Click BitBucket sidebar item.
- If your BitBucket app is not configured, you will see the below box to configure insights.
- Click the + Configurations button.
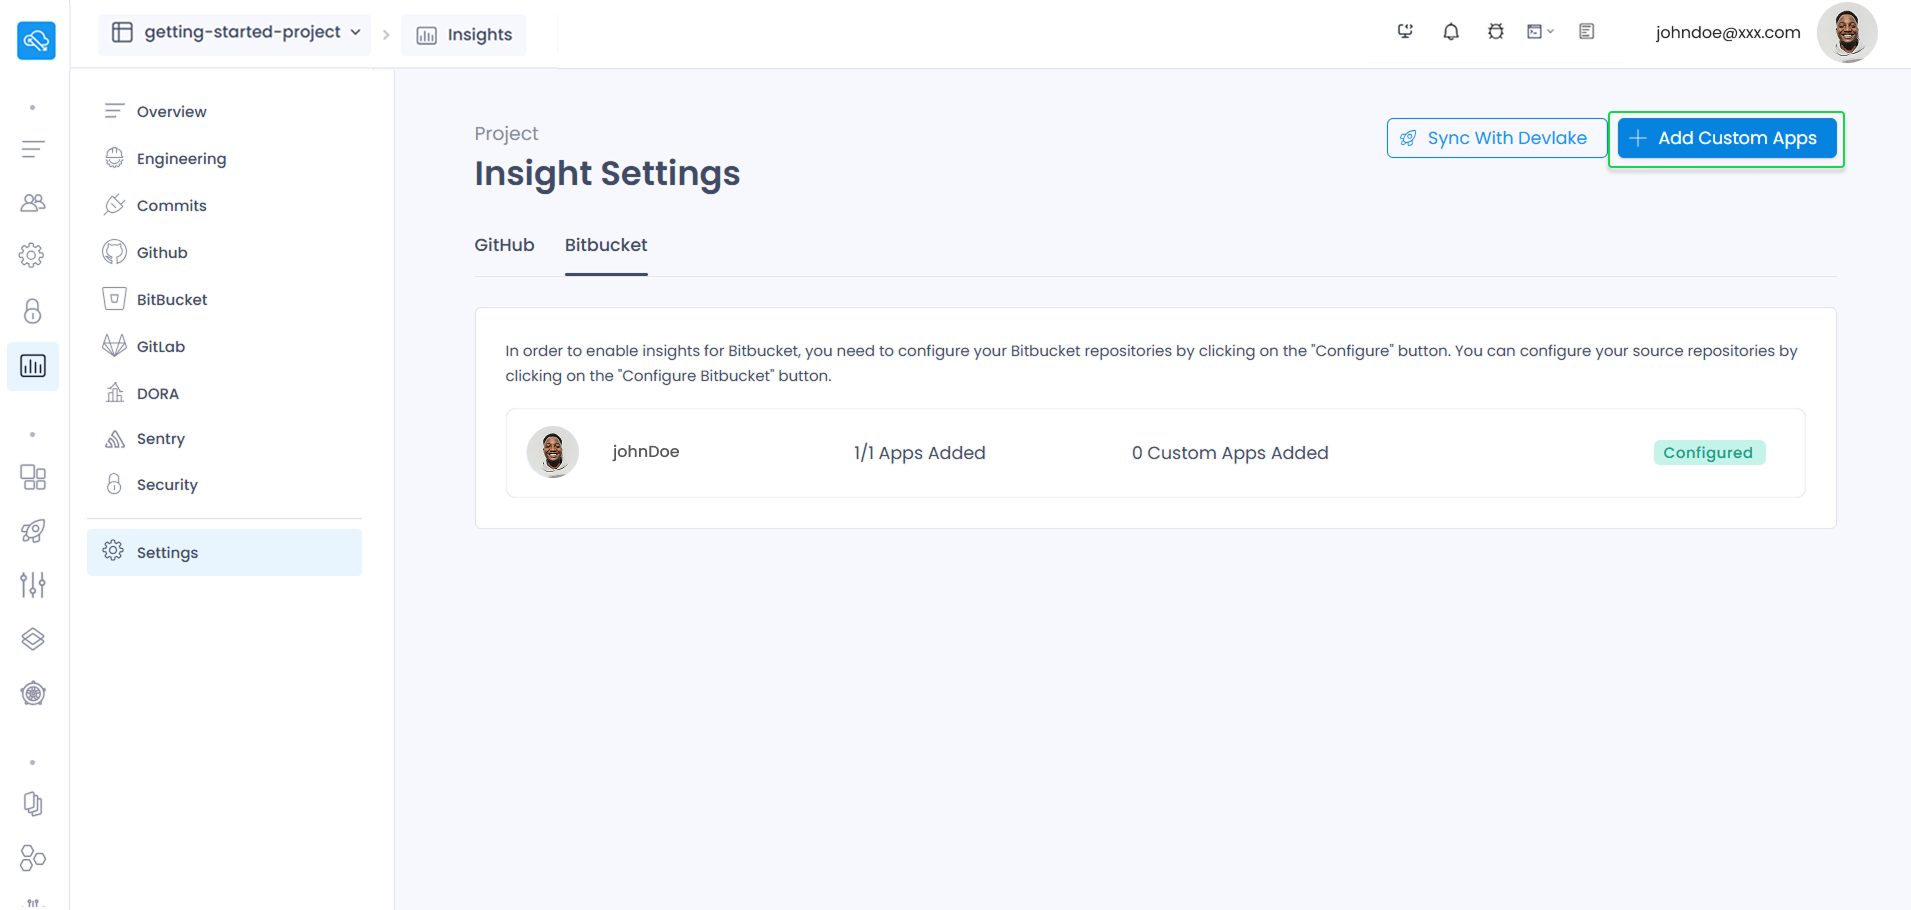
- Now you will be directed to Insights’ Settings page. If you have your app added already, you will see it listed under BitBucket tab.
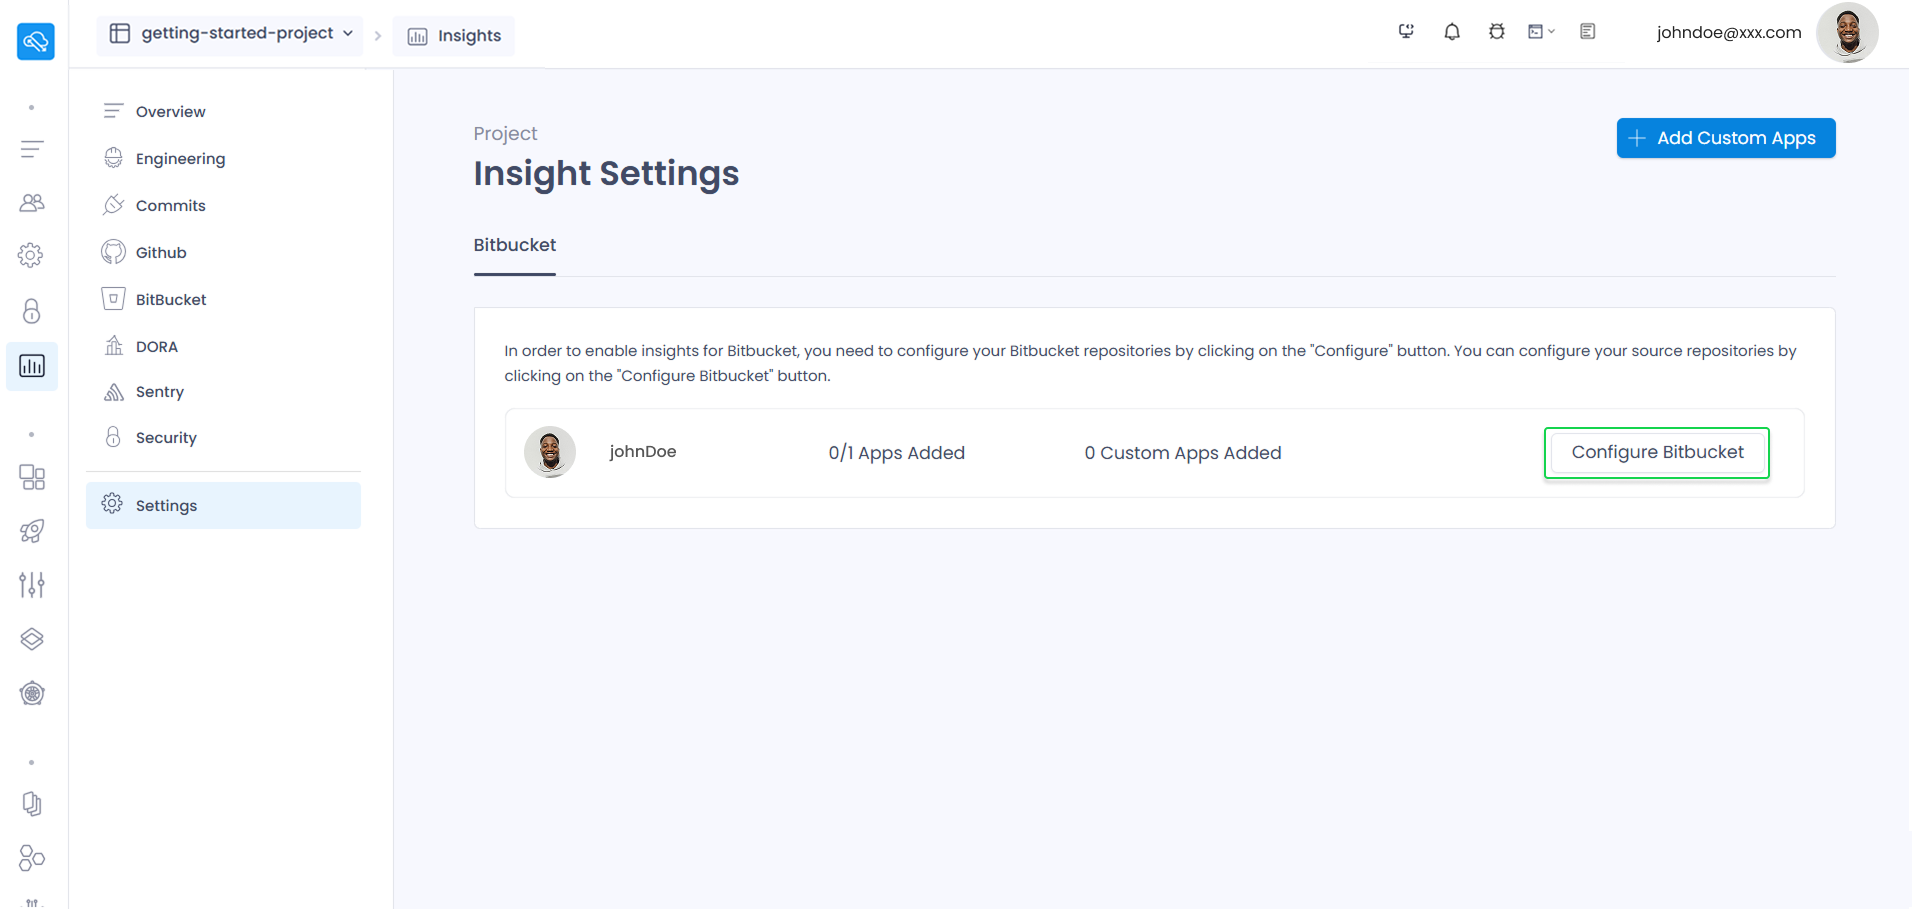
- You will see your configured organization / workspace name, added apps and added custom apps for the insights configurations. ( Added apps through creating apps within the console and Custom apps through the “Add Custom Apps” button in Settings pages )
- Click “Configure Bitbucket" button to start the insights configurations.
2. Configure BitBucket data collection ( For BitBucket connected apps )
- Create your BitBucket App Password How to get your App Password (opens in a new tab) with the given permissions which are under “Included Permissions” and enter that App Password value in the “Password Verification” tab’s Password input.
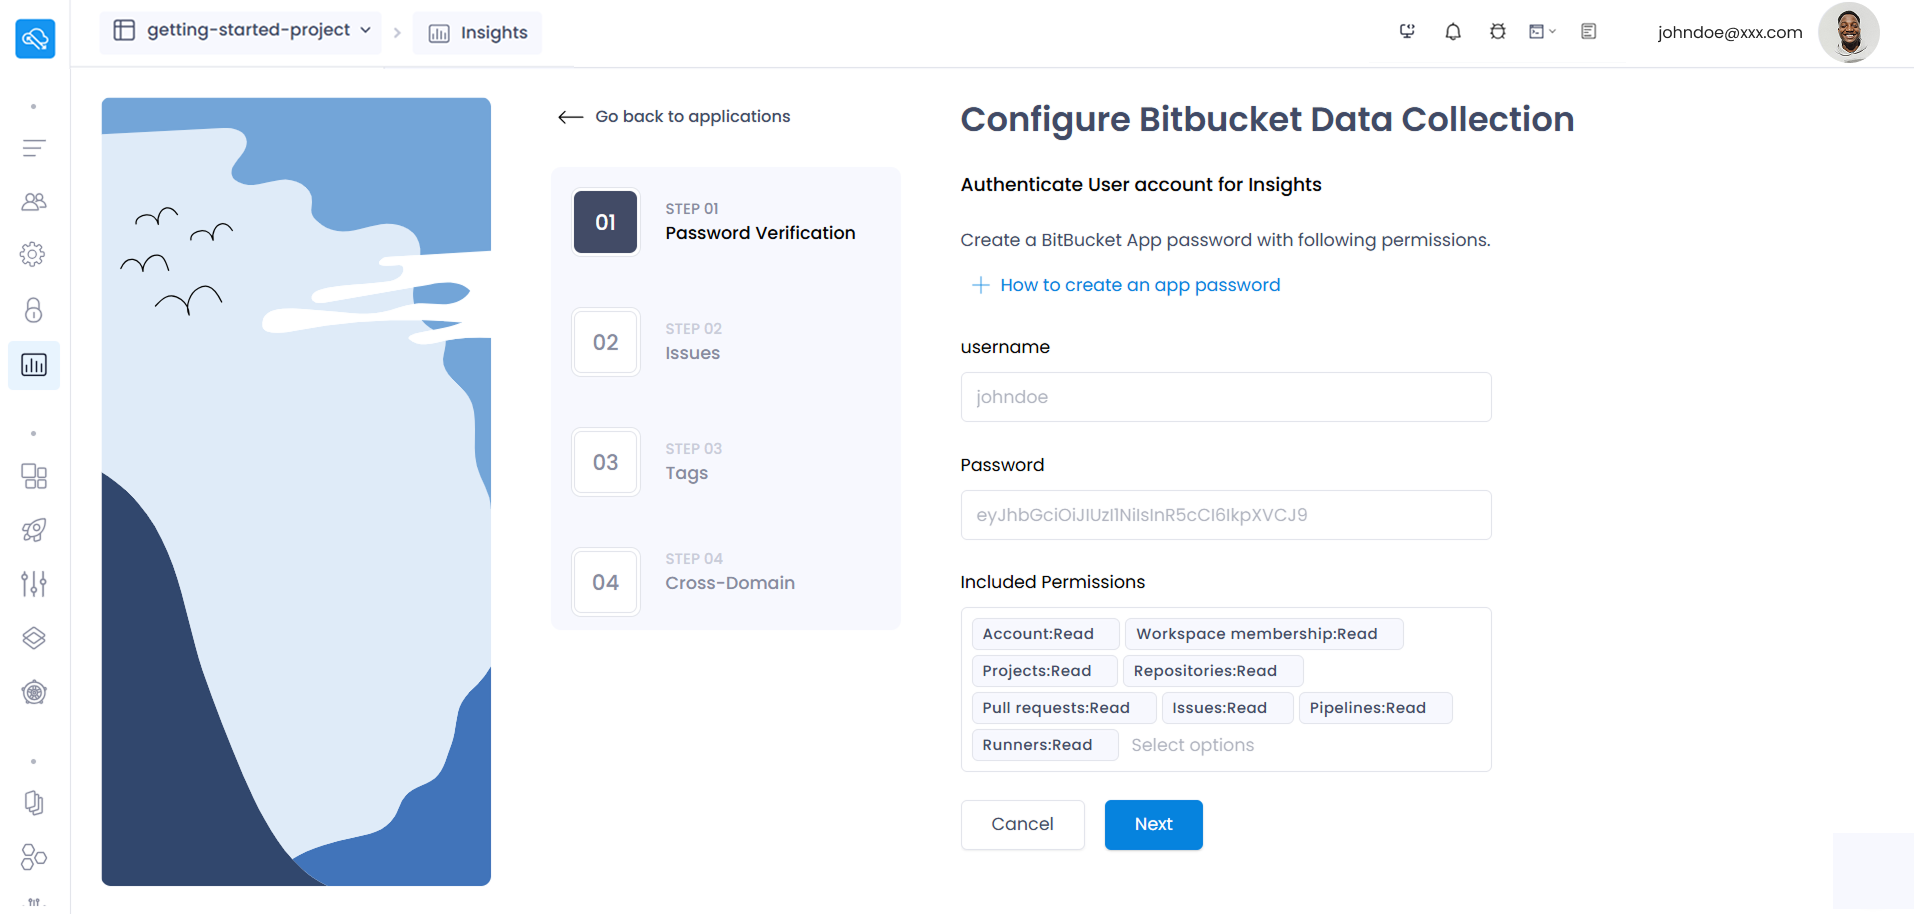
- After the validation is successful, You will be taken to the “Issues” tab and scroll down to click the “Next” button.
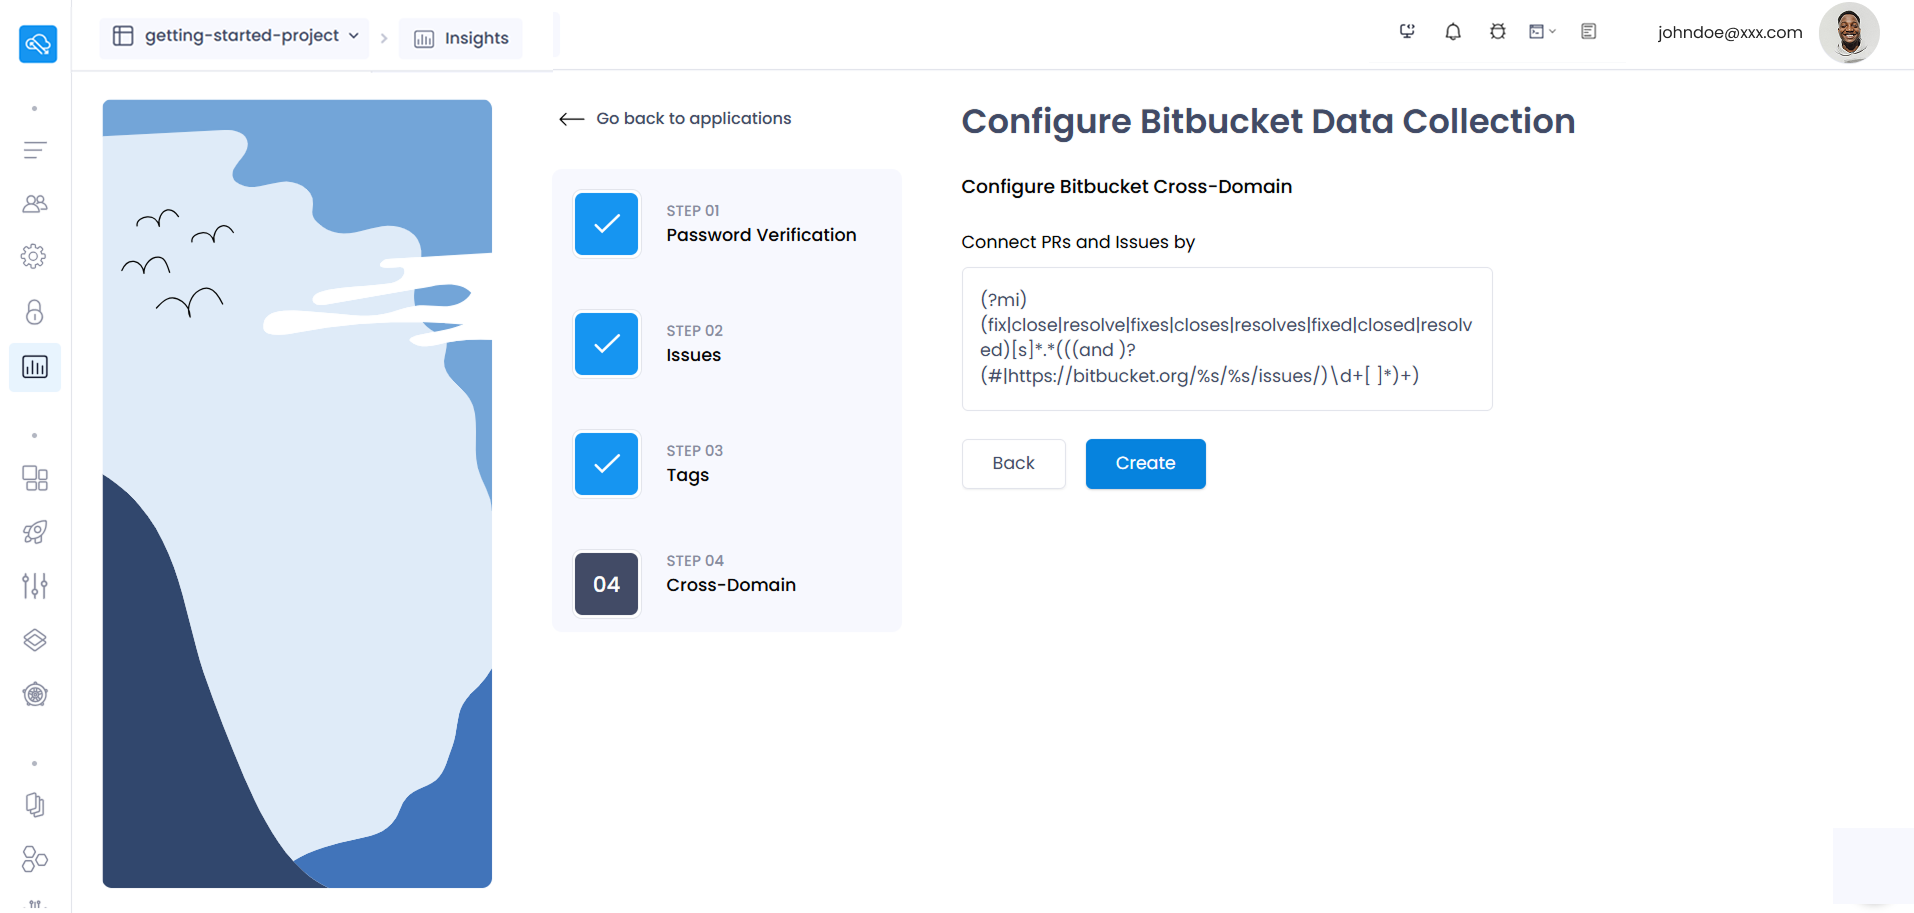
- Click the “Next” button in the “Tags” tab.
- Click the “Create” button in the “Cross-Domain” tab.
- Once it's configured successfully, you will get the success message and “Done” button to complete the configurations.
- You will be redirected to the Settings page where you can see that the app is configured to use its insights.

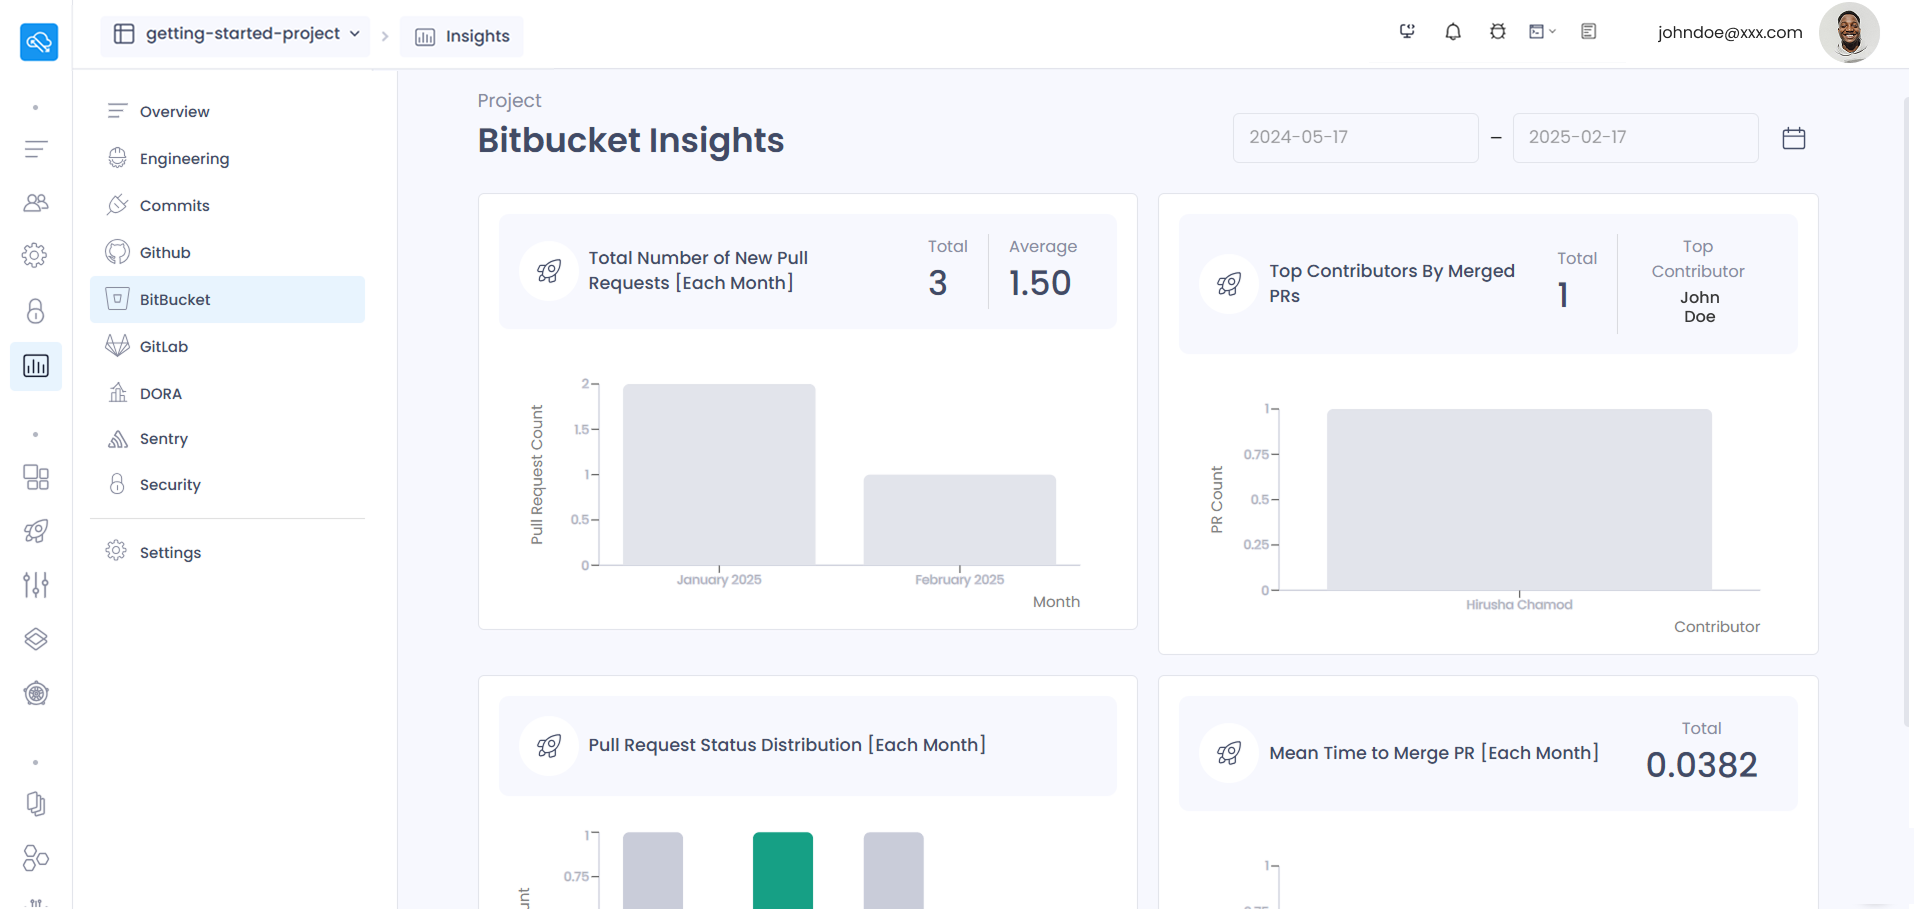
- Click the “Sync With Devlake” button to sync with the latest data in your configured repository.
- Now you can check the Gitbub sidebar item.
3. Custom BitBucket app configuration
- Click “+ Add Custom Apps” button to create your custom app insights configuration in the “Insights Settings” page.
- Click "Auth with BitBucket" and after the popup, scroll down where you can select the BitBucket workspaces, repositories and branches.
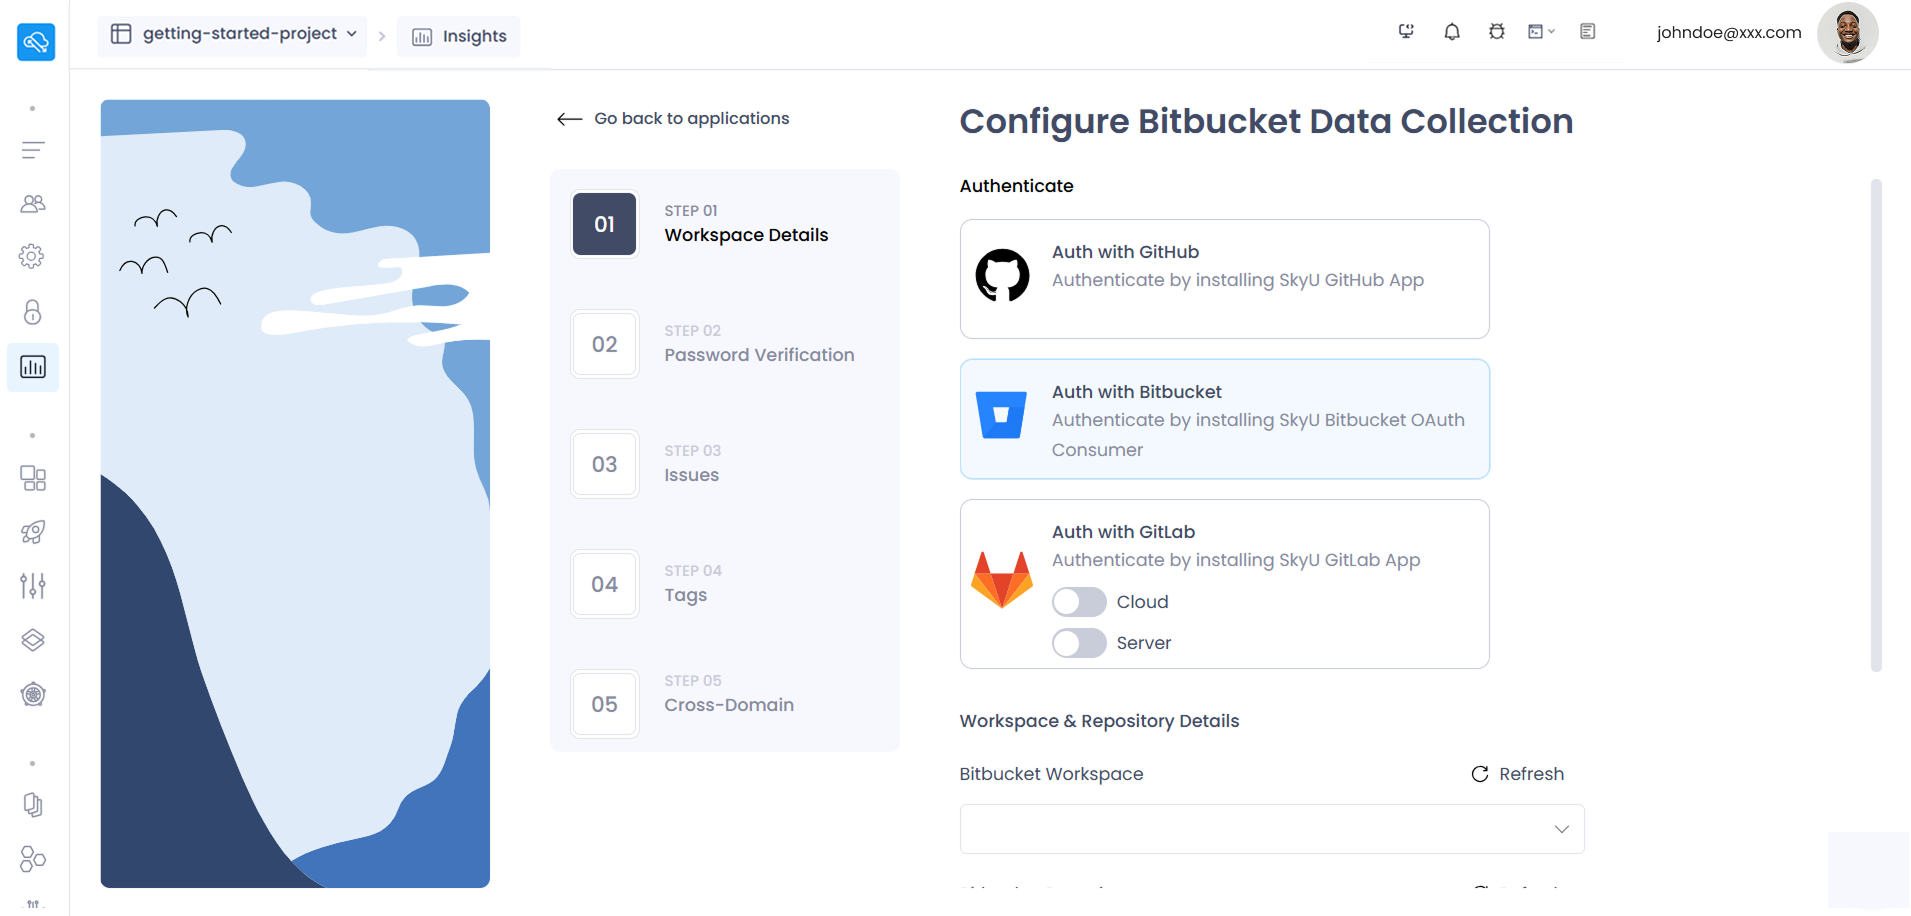
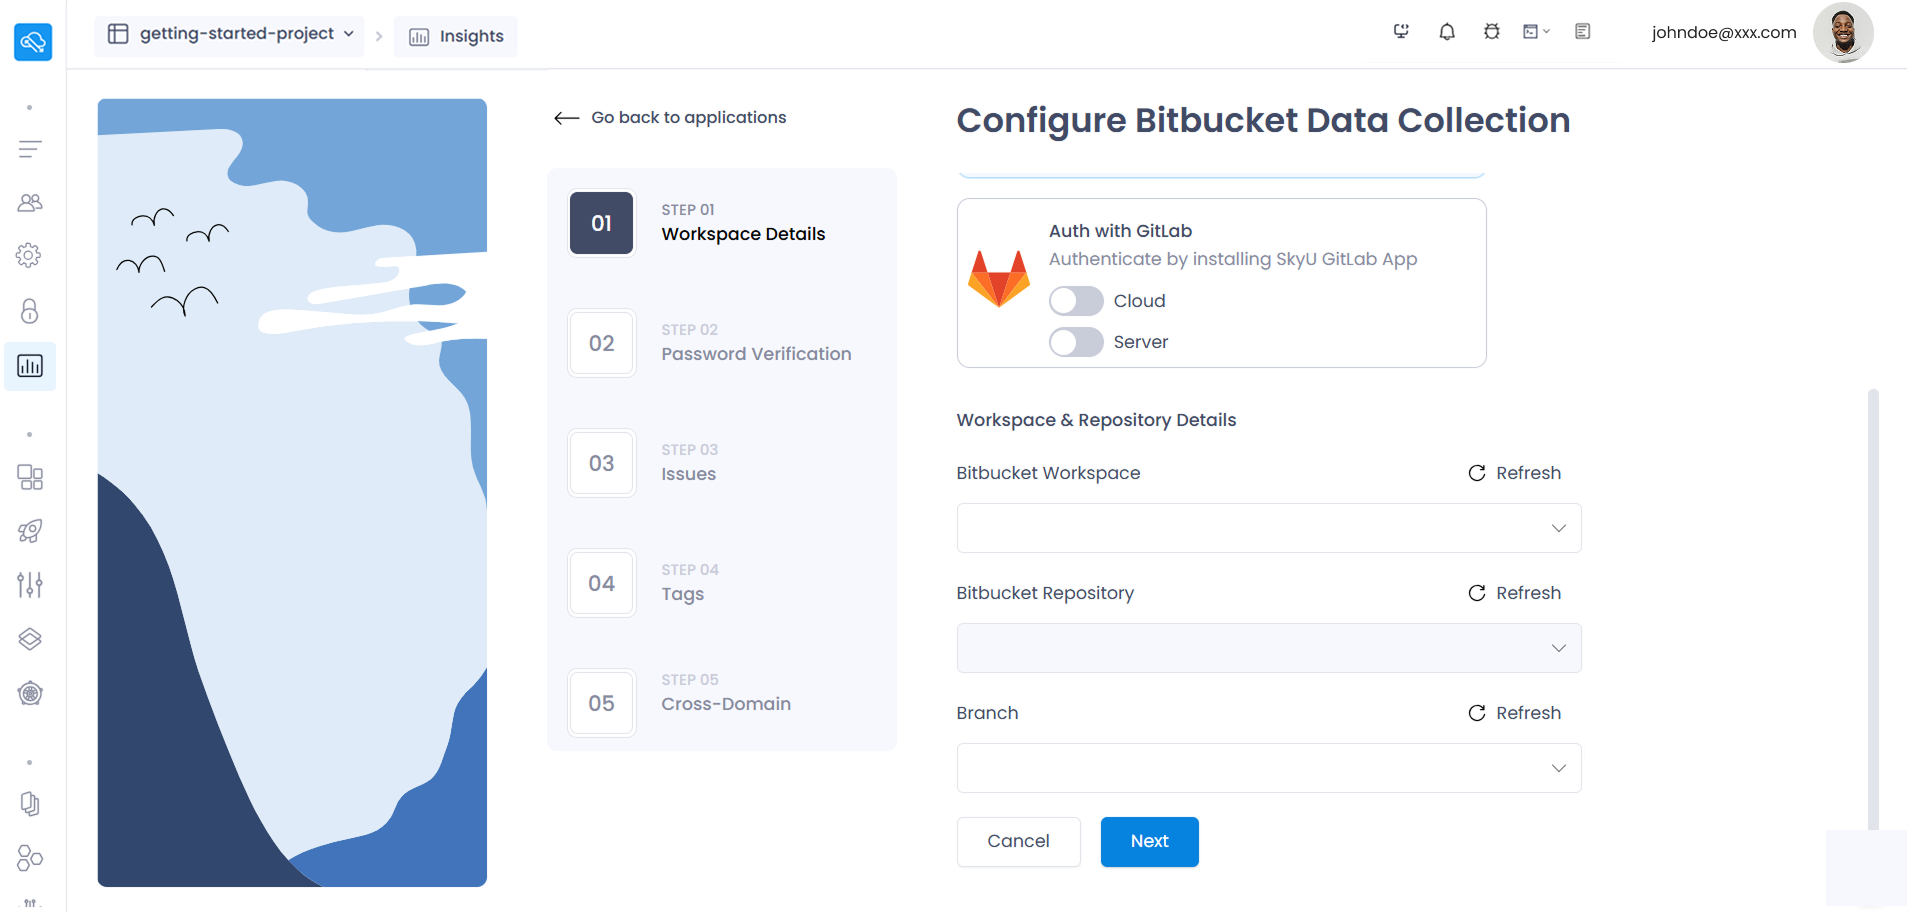
-
If the workspace you want to proceed with exists on the dropdown, you can select it and proceed to selecting its repositories and branches.
-
Finally Click "Create" button to finish your configuration.