Source Code to Kubernetes Deployment
This application type is able to take your source code —particularly those designed as Microservices or APIs, and those involving long-running background tasks— and deploying it as a set of scalable, manageable services within a Kubernetes environment.
Application Features
- Application Overview: This template is designed to deploy your source code as a set of scalable, manageable services within a Kubernetes environment.
- Kubernetes Configs: The application code is stored in a GitHub repository.
- Pipelines: The application is built using a Dockerfile and the built image is stored in a registry.
- Security Scans: The built image is scanned for vulnerabilities.
- GitOps: The application is deployed to a Kubernetes cluster using GitOps principles.
- Tests: The service ports are defined in the application configuration.
Getting Started
Choose Application Type
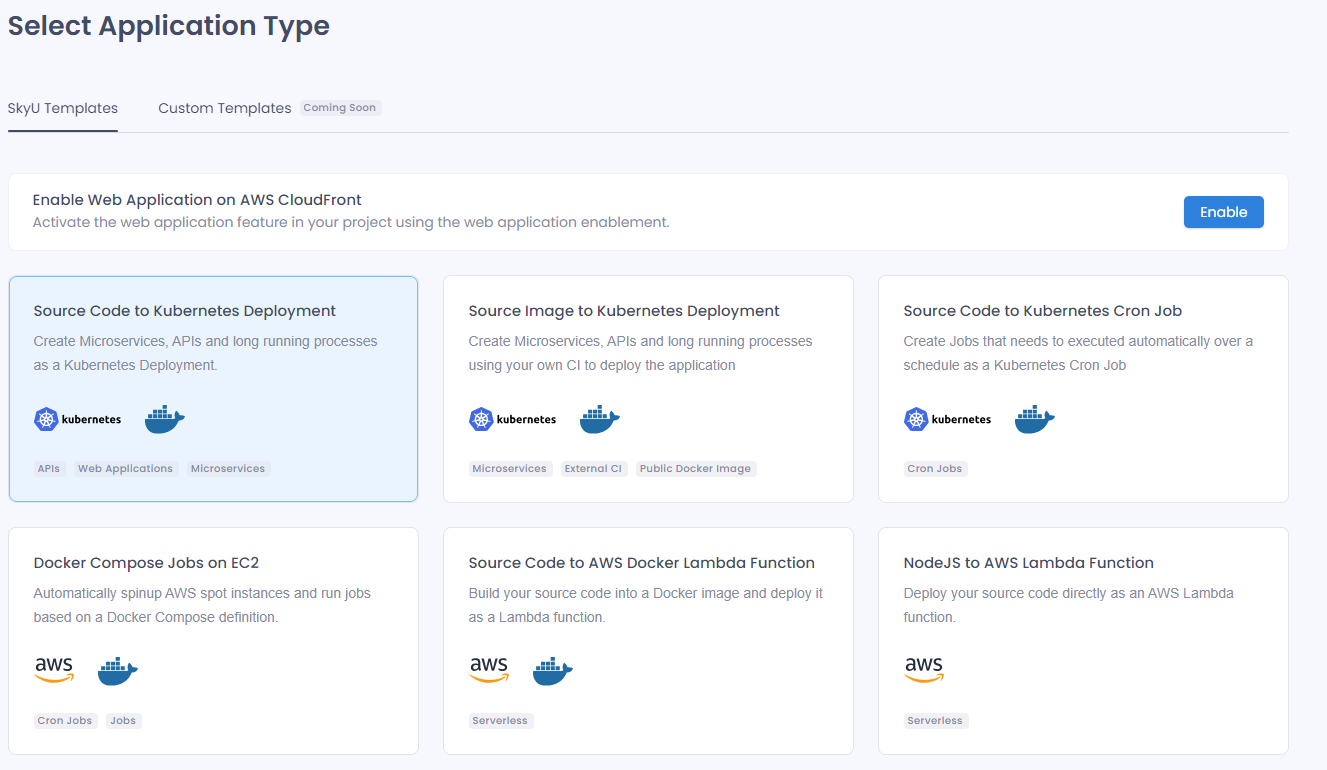
Navigate to the Applications section of your project. Click on the + Create Application button to create a new application.
Select Source Code to Kubernetes Deployment application type from the catalogue.

Fill General Details
| Field | Description | Example |
|---|---|---|
| Name | Name of the Application. This has to be unique across your project and should not contain special characters. | test-application |
| Description | Provide a meaningful description for your application | this is a test application |
Authenticate
This template needs the source code to build and deploy the application. Authenticate with GitHub to connect an existing repository for the application.
This step will route you to the GitHub OAuth page where you can authenticate with your GitHub account and install the SkyU GitHub App to select an existing repository for GitOps.
Select Repository
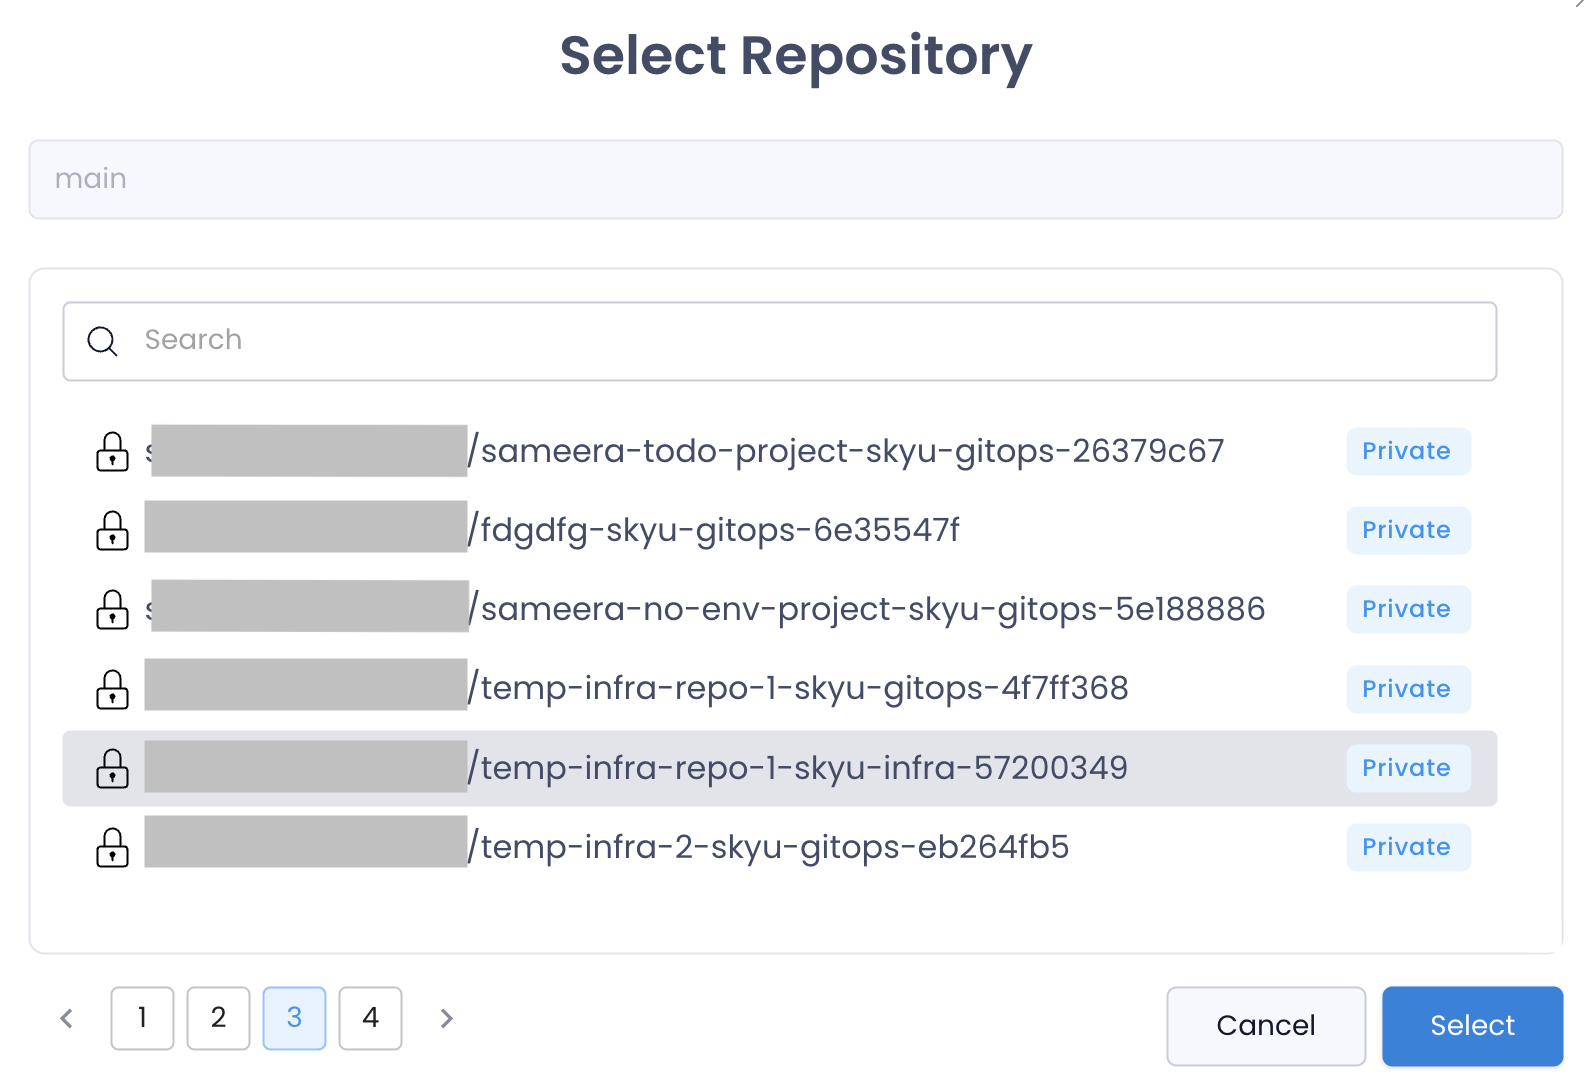
Select the repository which holds the application code.
| Field | Description |
|---|---|
| Github Account | Your Github Organization / Account |
| Repository | The repositor which holds the application code |
| Branch | Default branch for the repository. main is usally the default branch. Pipeline yamls will be stored here. |

Configure Namespaces
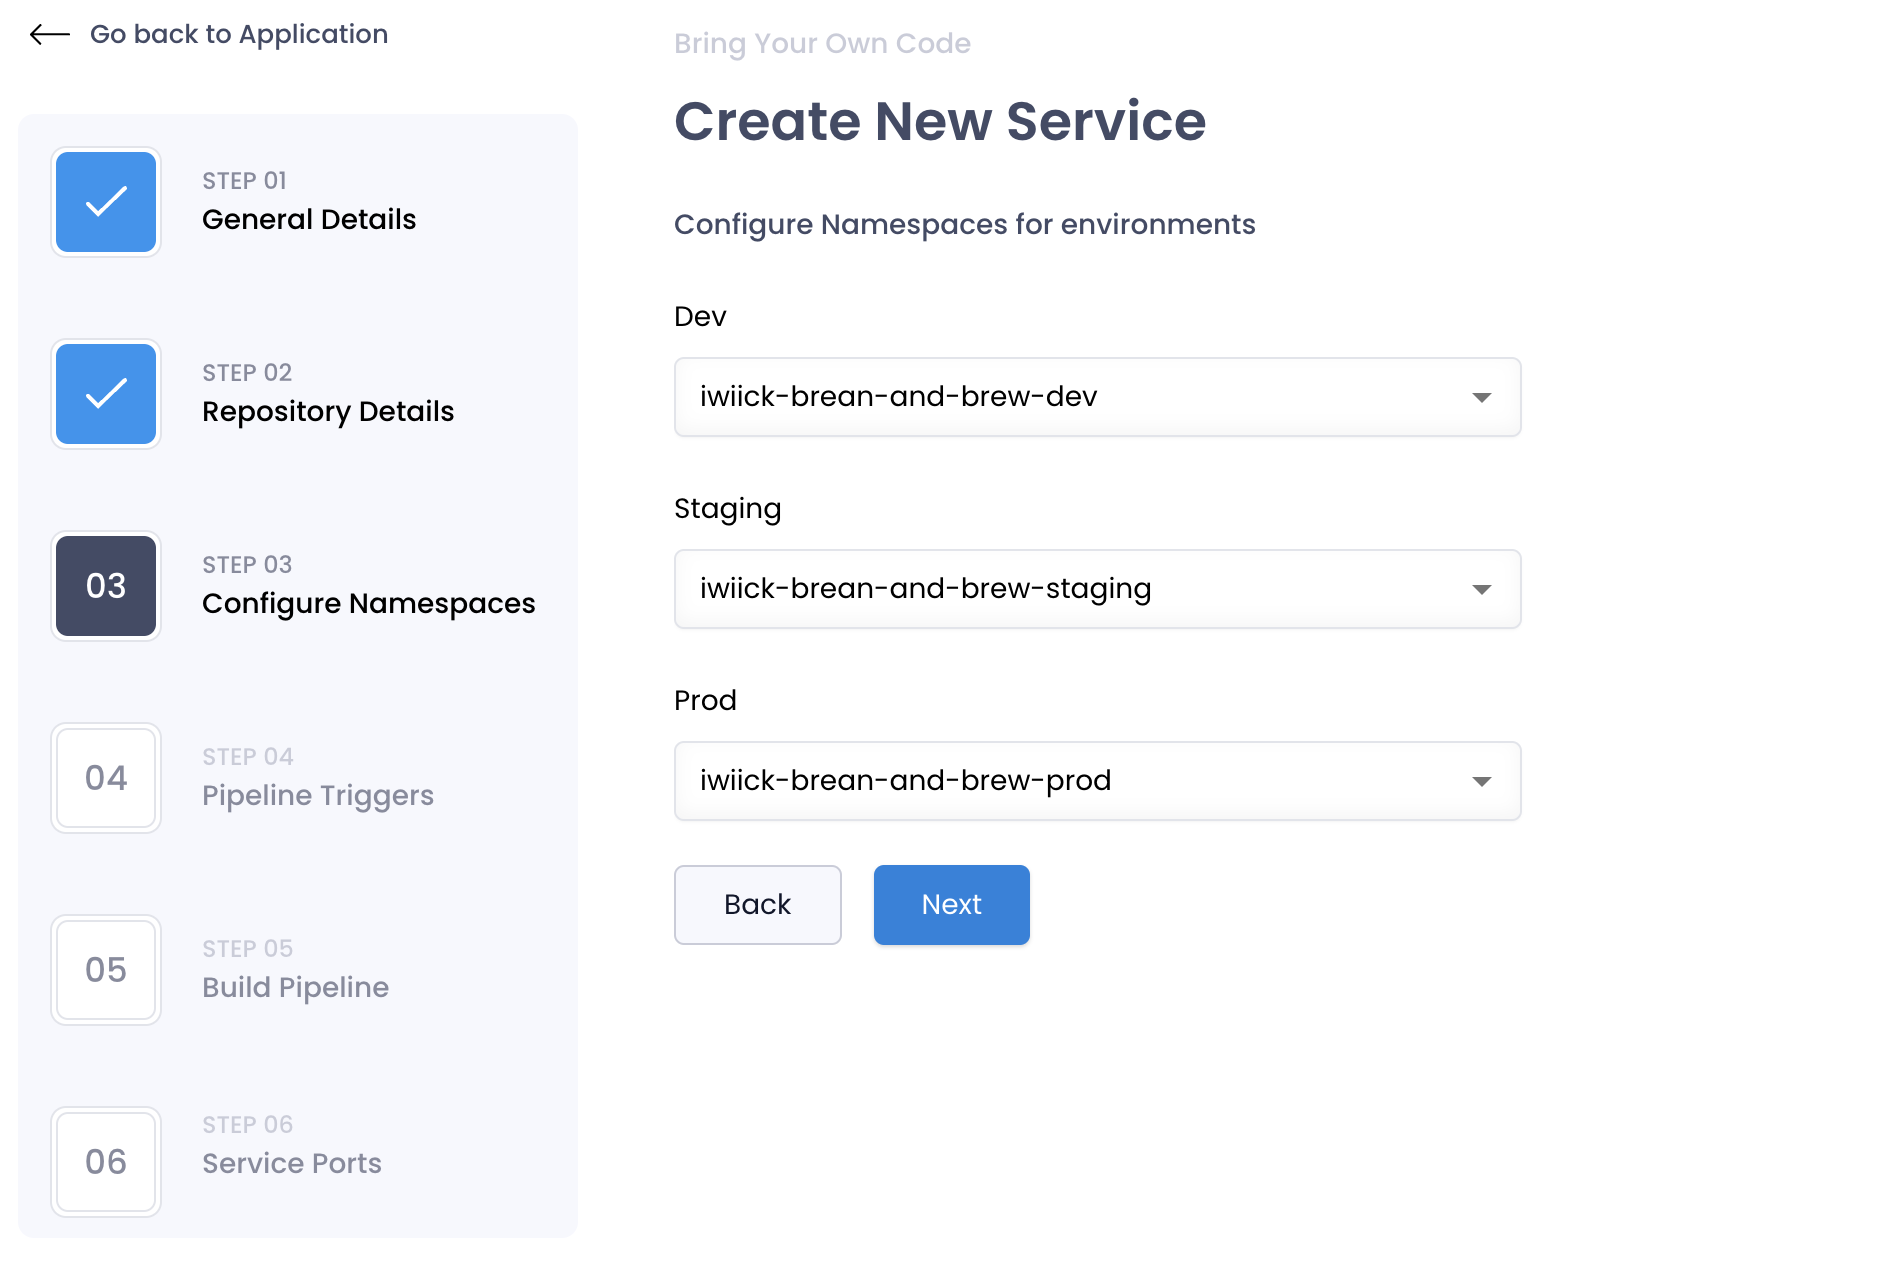
You can configure the namespaces per environment in this step defining the namespace in which the application is going to be deployed. These will be prefilled with the standard conventions which you can override.

Configure Pipeline Triggers
You can configure the triggers per environment in this step defining the branches/tags in which the workflows are going to be Triggered. These will be prefilled with the standard conventions which you can override.
| Field | Description | Default |
|---|---|---|
| On | Pipeline Trigger Event | push |
| Branches | Multiple inputs for branch names or a regex. (Optional) | main |
| Tags | Multiple inputs for tag names or a regex (Optional) | |
| Paths | To trigger on specific path changes in a repository (Optional) |
Each environment will have a different set of triggers. You can configure the triggers for each environment. You can learn more about pipeline triggers in the Pipelines section.
Configure the Build Pipeline
You can use this step to configure how the application is built using a dockerfile.
| Field | Description | Example |
|---|---|---|
| Dockerfile Path | Path to the Dockerfile in the repository. | /Dockerfile |
| Dockerfile Build Context | The directory that contains the build context for docker build command. Usually its . | . |
| List Integrations | Choose a credential that enables you to push and pull the images into a target registry | |
| Image Repository Name | The repository name where the built image will be stored. | docker.io/username/note-app |
| Scan Severity | The severity level of the vulnerabilities that will be detected in the image. Options are CRITICAL, HIGH, MEDIUM, LOW (Optional) | HIGH |
If Severity is set to High, the pipeline will fail if any high severity vulnerabilities are detected in the image.
By selecting the "Create New Credential" option, you can link a registry resource to save the built image via the pipeline service offered by SkyU. For a complete guide on linking Image Registries, Look at the Integrations Section.
Add Service Ports
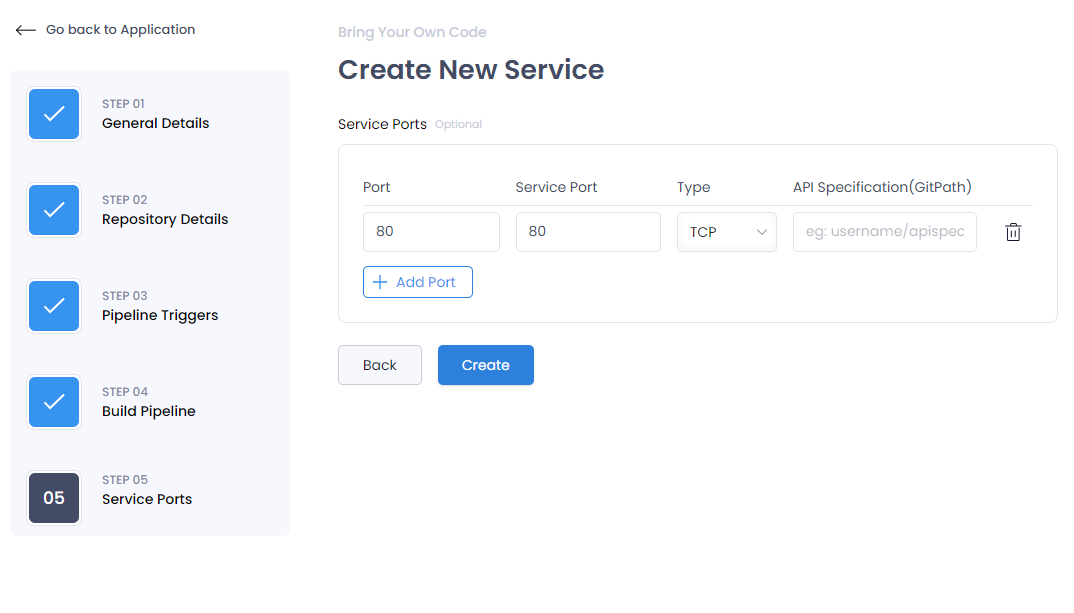
In this step, you will add the service ports. Additionally, if your application includes a Swagger specification for API documentation, you should also provide the path to the swagger.json file. This configuration can be adjusted later if necessary.

Create Application
Once you have filled all the details, click on the Create button to create the application.