Custom Roles Setup
The Custom Roles feature in the SkyU Identity and Access Management (IAM) section allows you to create tailored roles by selecting from a set of predefined static roles. With this feature, you can define role names, descriptions, and permissions to meet your project’s specific needs.
Custom Role Configuration Process
To set up a custom role in SkyU, follow these steps:
Navigate to the Roles Section
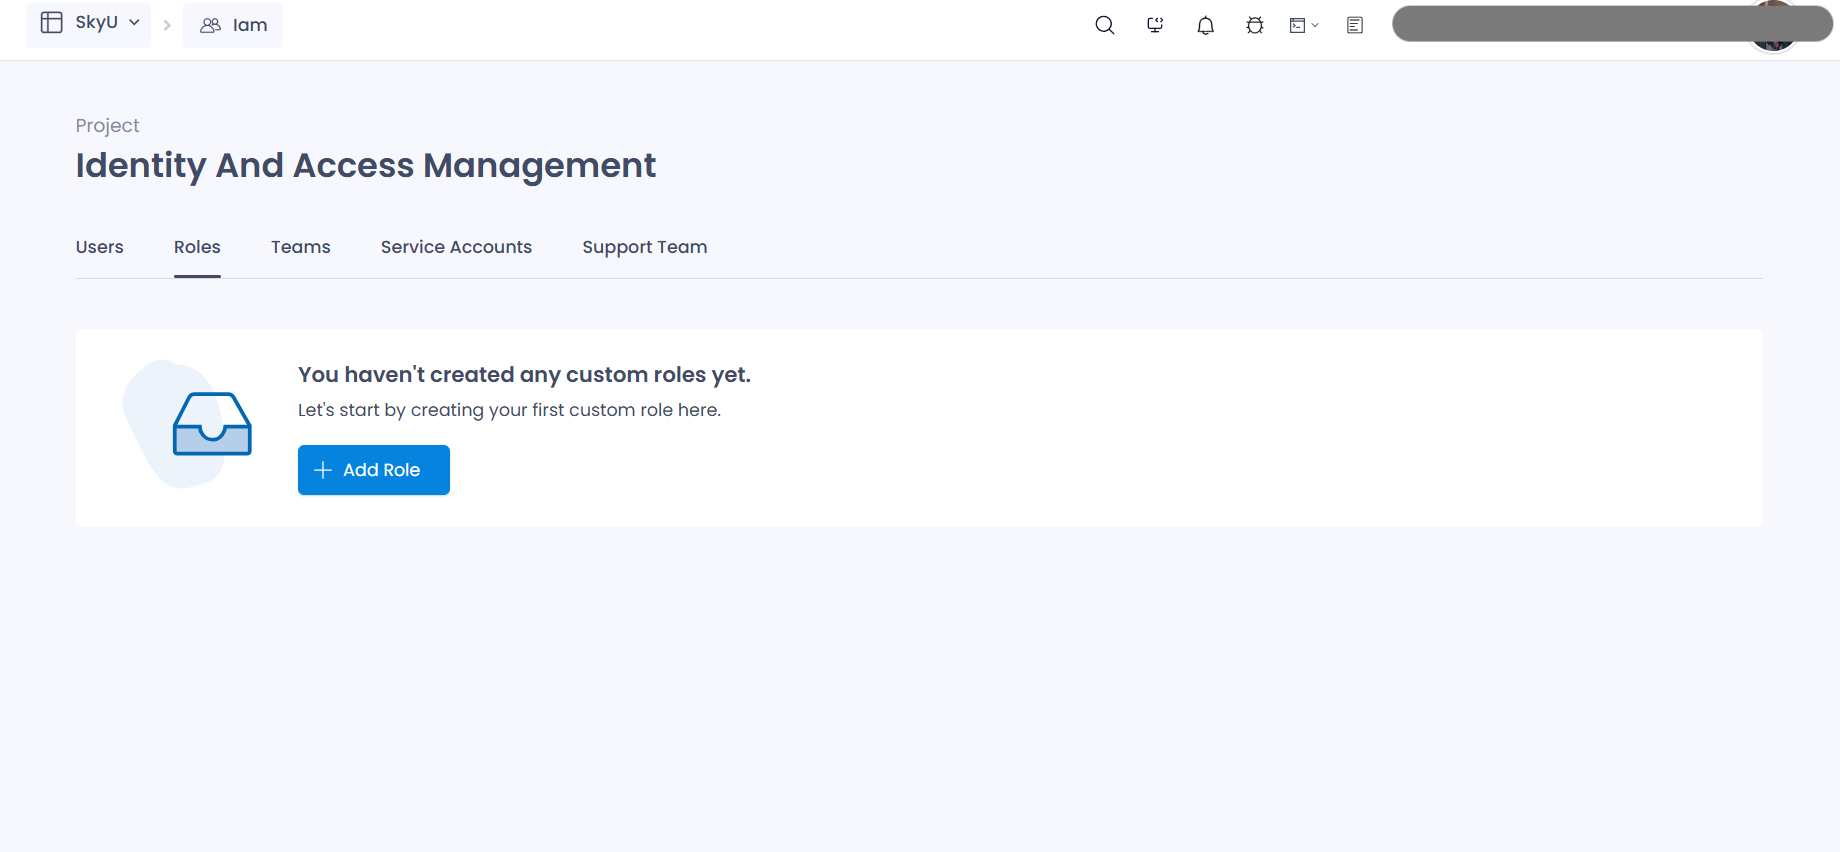
Navigate to the IAM section in the SkyU Console, and click on the Roles tab to manage user roles.

Add a Custom Role
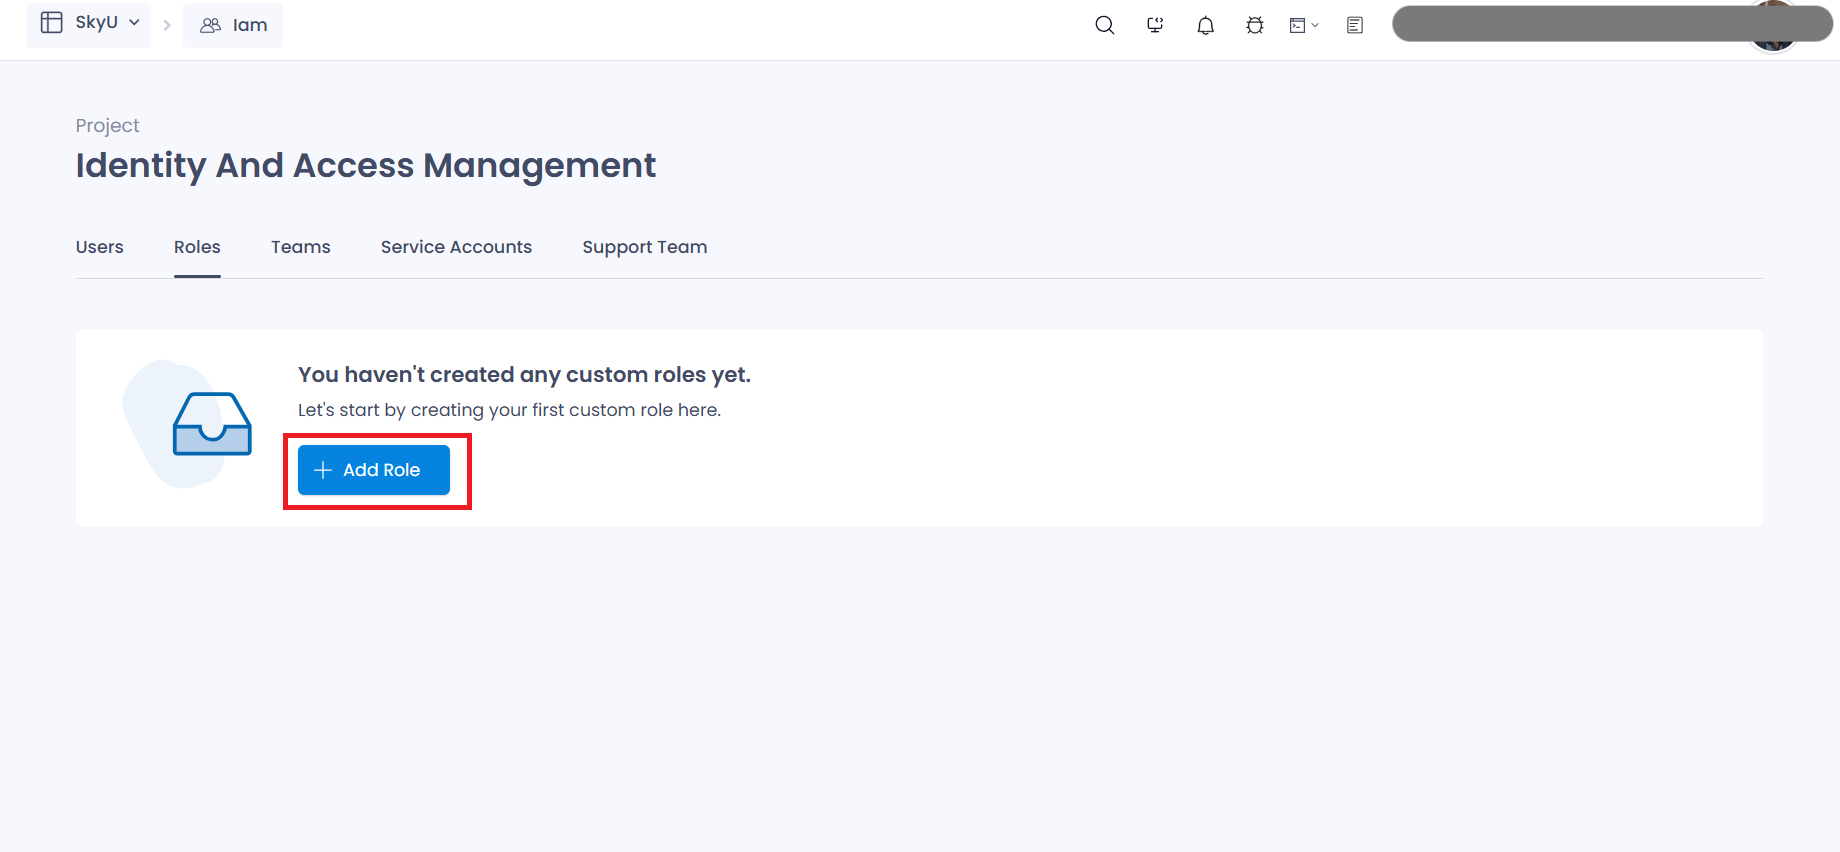
To create a new custom role, click on the + Add Role button.

Configure the Role
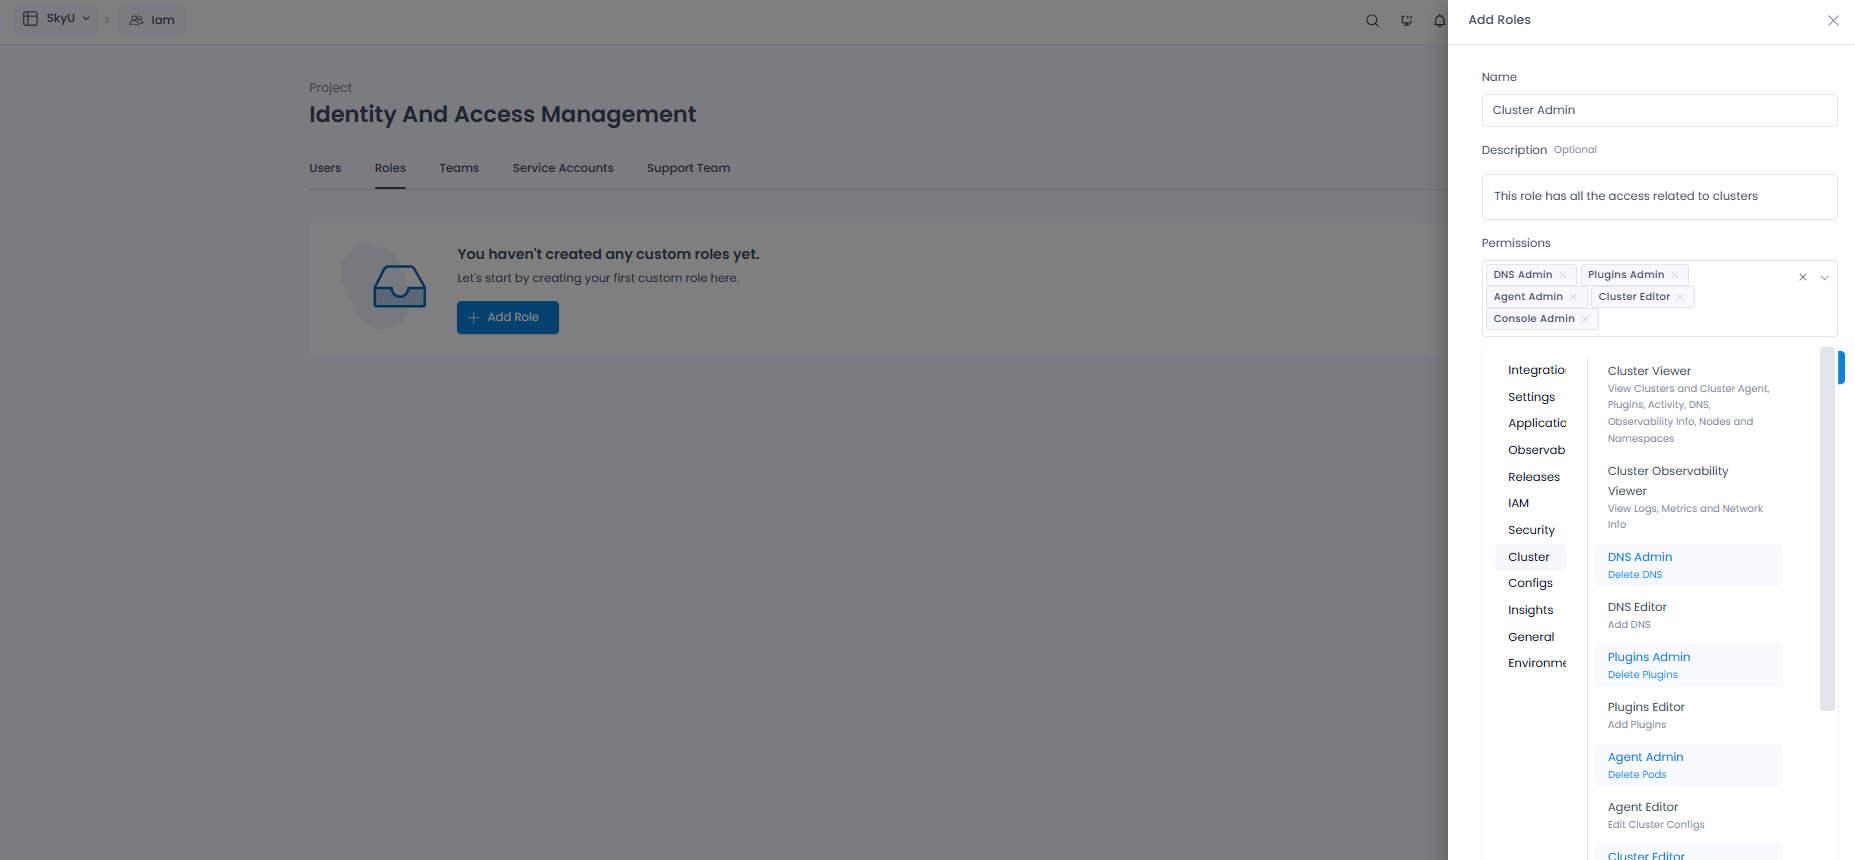
Fill in the required details for the custom role. Use the table below to understand the fields:
| Field | Description | Example |
|---|---|---|
| Name | Enter a name for your custom role. | Cluster Admin |
| Description | Provide a brief description of the role's purpose. | Full access to cluster features |
| Permissions | Select the static roles that will compose this role. | DNS Admin, Cluster Editor, Agent Admin, Console Admin, Plugins Admin |
- Name: Enter a unique name for the custom role.
- Description: Describe the purpose and privileges of this role.
- Permissions: Select the static roles required for the custom role from the list.

Review and Save the Role
Once the role configuration is complete, review the details and click on Create Role to save the custom role.

Roles Listing Page
After creating the custom role, you will be redirected to the Roles Listing Page, where all existing roles are displayed, including the newly created role.

Manage Custom Roles
You can edit or delete existing custom roles directly from the Roles Listing Page by using the respective buttons:
- Edit: Modify the name, description, or permissions of a role.
- Delete: Remove a role from the list permanently.

Custom roles enable you to tailor permissions to fit your project’s unique requirements, enhancing user management and security.